 Anacortes Exterior
 Building New in a Neighborhood That's Seen a Lot of Weather
Old Town Anacortes is one of the older residential pockets on Fidalgo Island, and it's not unusual to see a brand-new addition, second story, or infill build going up next to a house that's been standing for decades. Whether you're framing a full new home, adding a room, or putting in an ADU, the windows going into those new rough openings are doing a specific job: keeping out salt-laden air off Guemes Channel and Rosario Strait, shedding driving rain off the Sound, and standing up to a moss season that runs longer here than in drier parts of the state.
New-construction window work is a different trade than swapping out old sashes in an existing wall. It's also a one-shot opportunity — you build the water management detail into the wall assembly once, correctly, or you spend years chasing leaks after the siding and trim are closed up. This page covers what that correct job looks like for Old Town Anacortes specifically.
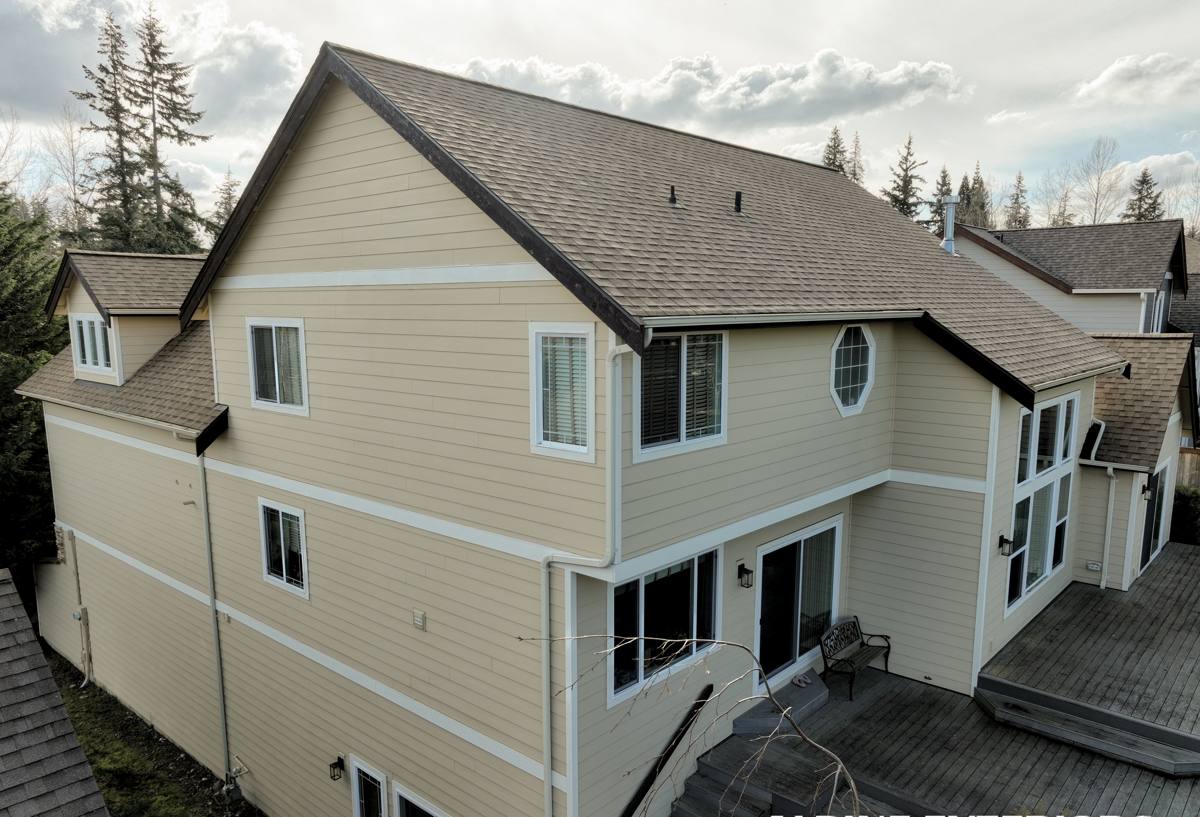
New-Construction vs. Replacement — Why We Treat Them Differently
A replacement window goes into an opening that already has a working frame, siding, and trim around it. A new-construction window goes into a bare, framed rough opening with only sheathing and a weather-resistive barrier (WRB) around it. That means the window itself, and how it ties into the WRB, sill, and flashing, is the water management system for that opening — there's no old frame doing any of the work.
New-construction units use a nailing fin (sometimes called a flange) that fastens directly to the sheathing and gets integrated into the WRB in a specific shingle-lap order. Get that sequence wrong and you can trap water inside the wall where nobody will see it until there's rot, mold, or a stained ceiling below a window years later. Get it right and the window becomes one seamless part of the building's drainage plane.
Additions and Infill Have Their Own Quirks
When new construction ties into an older structure — an addition off an existing house, a bump-out, a new dormer — the new WRB has to lap correctly with whatever water barrier is already on the old wall, and the framing tolerances are rarely as clean as a from-scratch build. We plan the flashing sequence around that transition before the window ever shows up on site, not after.
What Fidalgo Island's Climate Actually Does to a Window Opening
Anacortes sits close enough to saltwater that airborne salt is a real material consideration, not a marketing talking point. Salt air accelerates corrosion on exposed fasteners, hinges, and unprotected aluminum components, and it degrades some finishes faster than a homeowner might expect from a catalog spec sheet.
Wind-driven rain is the other constant. Storms coming off the Strait push rain sideways into wall assemblies, which stresses every seam, joint, and fastener penetration around a window opening — this is exactly where a weak flashing detail fails first. And Skagit County's long damp season keeps horizontal surfaces — sills, exterior stools, bottom rails — wet for extended stretches, which is what drives moss and algae growth and slowly breaks down sealants and finishes that aren't rated for sustained moisture contact.
None of this means new construction here is harder than anywhere else in Western Washington — it means the details have to be right the first time, because this climate doesn't forgive shortcuts the way a drier region might.
The Flashing Sequence: What a Correct Install Actually Involves
Sill Pan Before Anything Else
Every new-construction opening gets a sloped or back-dammed sill pan before the window ever goes in. This gives any water that does get past the window a way to drain back outward instead of sitting on the framing. Skipping the sill pan and relying on caulk alone is the single most common shortcut we see cause long-term rot in this climate.
Fin Fastening and WRB Integration
The nailing fin gets fastened per the manufacturer's pattern, then the WRB is lapped over the top and sides of the fin in shingle fashion — meaning each layer overlaps the one below it, so water is always directed outward and down, never into a seam.
Head Flashing and Drip Caps
Flashing or a drip cap goes above the window, integrated under the WRB above the opening, so water running down the wall is kicked out and away from the top of the frame rather than funneled behind it.
Sealant plays a supporting role in this sequence — it's not the primary water barrier. A window relying on a bead of caulk to do the work that flashing and lapping should be doing will eventually fail, usually quietly, inside the wall.
Choosing Window Material for Salt Air and Driving Rain
Material choice matters more here than in an inland build. Our standard leans toward vinyl and fiberglass frames for most Old Town Anacortes projects because of how they handle sustained marine exposure, but the right call depends on the home's design, budget, and how exposed the specific wall is to weather.
| Material | Salt Air / Corrosion Behavior | Maintenance | Typical Cost Position |
|---|---|---|---|
| Vinyl | Good — no metal corrosion to worry about; UV-stable formulations hold up well | Low — occasional cleaning, no repainting | Most economical |
| Fiberglass | Very good — dimensionally stable, resists the expansion/contraction cycling that stresses seals | Low — durable finish, minimal upkeep | Mid to upper |
| Aluminum | Requires marine-grade coatings/anodizing to avoid corrosion near saltwater; exposed fasteners are a weak point without proper protection | Moderate — coating maintenance matters | Mid to upper |
| Wood-clad | Fine when the exterior cladding is intact, but any breach exposes wood to a long wet season | Higher — exterior wood and joints need monitoring | Upper |
We're not against any of these materials on principle — the trade-off is maintenance burden and moisture tolerance, not that one is "bad." A well-detailed aluminum or wood-clad window can perform fine here; it just asks more of the install and the upkeep than vinyl or fiberglass does.
Energy Code and Egress Requirements in Skagit County
New construction has to meet the Washington State Energy Code, and Skagit County falls in the state's marine climate zone, which sets prescriptive minimums for window U-factor (how much heat the window loses). We spec glass packages to meet or beat those minimums as a baseline, then adjust for orientation — a west-facing wall catching afternoon sun and weather off the water may call for a different glass package than a sheltered north wall.
Bedrooms and other sleeping rooms also have egress requirements under the adopted building code: a minimum clear opening width, height, and net clear area, along with a maximum sill height above the floor. This has to be checked against the actual window unit — not just the rough opening size — before an order goes in, because some styles and grille patterns can reduce the clear opening below what egress requires.
Our Process, Rough Opening to Final Trim
- Verify every rough opening against the window schedule before units are ordered — catching a framing error here is far cheaper than after installation.
- Dry-fit each window to confirm level, plumb, and square before permanent fastening.
- Install the sill pan and any required back-dam flashing.
- Set the window, fasten the nailing fin per manufacturer spec, and integrate the WRB in proper shingle-lap order.
- Install head flashing and confirm drainage paths at the sill are clear and functioning.
- Air-seal the interior gap with low-expansion foam or backer rod and sealant — never packed tight enough to bow the frame.
- Finish exterior and interior trim once the water management layer is confirmed complete.
We don't move to the next step until the one before it is verified — flashing gets covered up fast once siding goes on, so it has to be right before that happens.
Why a Crew That Already Works Old Town Anacortes Matters
A lot of new-construction window failures aren't material failures — they're sequencing mistakes made by installers who don't regularly work this specific combination of marine exposure, wind-driven rain, and infill construction against older framing. Crews who work Old Town Anacortes routinely know how exposed a given lot is likely to be based on its orientation to the water, understand City of Anacortes permitting and inspection expectations, and have already worked out flashing details for the addition-to-existing-wall transitions that come up constantly in this neighborhood. That familiarity shows up as fewer surprises during framing inspection and fewer callbacks after the first hard winter storm.
Mistakes We See on New-Construction Window Jobs
- Sealant used as the primary water barrier instead of a proper flashing and lapping sequence
- No sill pan, or a flat sill pan with no back dam to stop water from draining inward
- WRB lapped in the wrong order at the head or jambs, directing water into the wall instead of out of it
- Fastener pattern on the nailing fin skipped or spaced too wide, leaving the frame under-supported against wind load
- Window ordered to meet U-factor code minimums but not checked against actual egress clear-opening requirements for bedrooms
- Interior gap packed with high-expansion foam that bows the frame out of square
Every one of these is avoidable with the right sequence and a little patience — none of them are expensive to do correctly, but several are expensive to fix once the siding's on.
Ready to Talk Through Your Project
If you're framing an addition, infill build, or full new home in Old Town Anacortes and want the window openings detailed correctly from the start, we're happy to walk the site and talk specifics. Use the form below for a free, no-pressure estimate — there's no obligation, and no pressure to decide on the spot.