 Anacortes Exterior
 New-Construction Windows in Mount Vernon: Getting It Right Before the Siding Goes On
When a house is being built from the ground up, the windows only get installed correctly once. There's no old frame to compare against, no prior installer's mistakes to inherit — just a rough opening, a weather-resistive barrier, and one chance to integrate the window into the wall assembly the right way. For homes going up in Mount Vernon and the surrounding Skagit County area, that first install matters even more than it does in drier parts of the state, because the climate here doesn't forgive shortcuts.
We work new-construction window installs for builders and homeowners in this part of Skagit County regularly, which means we're used to coordinating with framers, general contractors, and inspectors on a schedule — not just showing up to swap out an old unit. This page covers what a proper new-construction window install actually involves here, what tends to go wrong when it's rushed, and what to expect from our process.
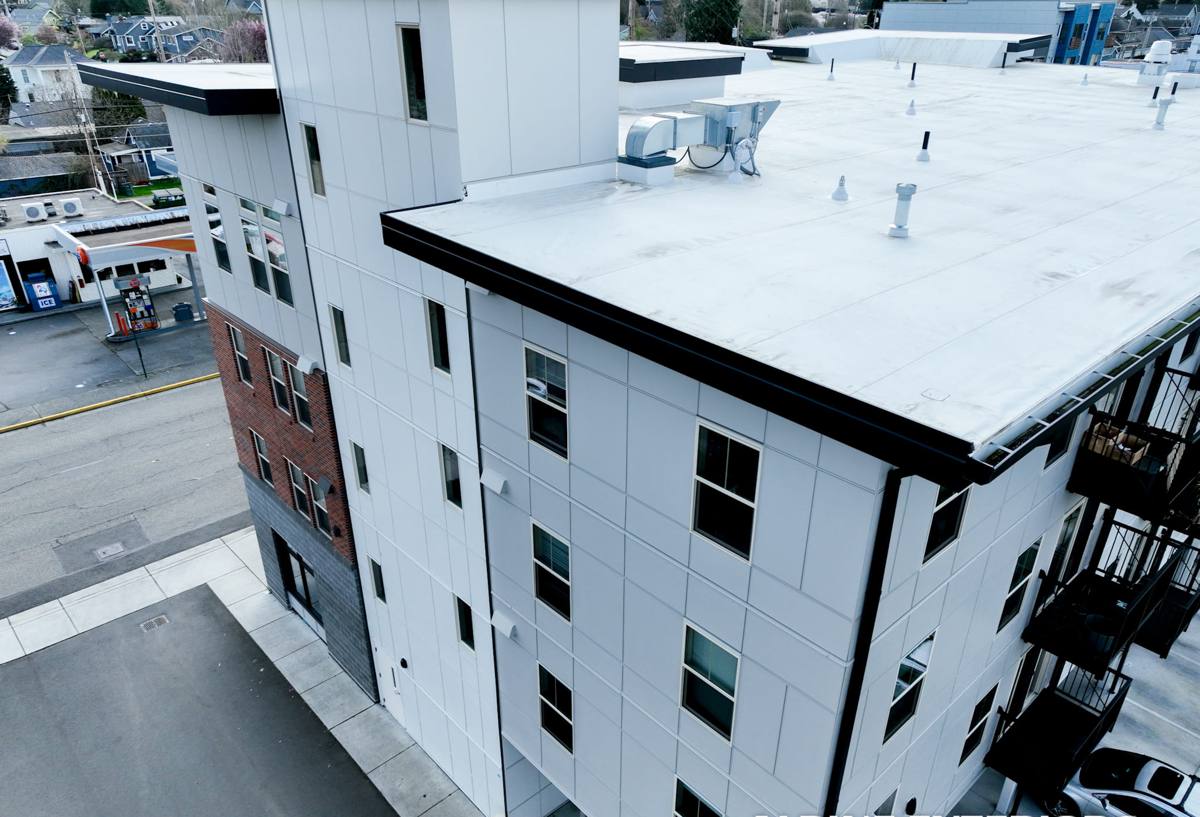
Why the Skagit County Climate Changes How Windows Should Be Installed
Mount Vernon sits inland from the salt water of Fidalgo Bay and the Salish Sea, but the region still gets plenty of moisture-laden air moving through the valley, along with the driving rain that blows sideways off Puget Sound storms. Add a long, damp moss season most of the year, and you've got a climate that's hard on any gap in a building envelope.
- Wind-driven rain: Storms here don't always fall straight down. Rain gets pushed sideways into wall assemblies, which means flashing details at the head, sides, and sill of every window opening have to actually work — not just look finished.
- Persistent humidity: Long stretches of damp weather mean any moisture that gets behind a window opening has fewer chances to dry out between rain events. Trapped moisture in new framing is a bigger long-term risk than most people realize.
- Salt-influenced air: Proximity to salt water in this part of Skagit County accelerates corrosion on unprotected fasteners and hardware over the life of a home, which matters when you're choosing what goes into the wall now, before it's covered up.
- Moss and organic growth: Shaded, damp sill areas and poorly flashed trim are where moss and algae take hold first. Getting drainage and slope right at the window sill reduces this over the years, not just at move-in.
None of this is exotic — it's just the reality of building in Western Washington. But it means a new-construction window install here has to be treated as part of the whole water-management system of the house, not an isolated task.
What a Correct New-Construction Window Install Actually Involves
New-construction windows are installed using a nailing flange (also called a nailing fin) that gets integrated directly into the wall's weather-resistive barrier (WRB) before siding or trim goes on. This is different from a replacement or "pocket" install into an existing frame, and it gives us more control over how water is managed — if it's sequenced correctly.
The sequence matters more than the window itself
A high-end window installed out of sequence will leak eventually. A mid-range window installed in the correct order, with the right flashing details, will hold up for decades. The order we follow on new construction is:
- Verify the rough opening is square, level, and sized correctly before the window ever arrives on site.
- Install a sloped sill pan flashing so any water that does get past the window drains outward, not into the framing.
- Set the window plumb and square in the opening, shimmed correctly so the frame isn't under stress that can distort the sash over time.
- Flash the sides and integrate the nailing fin with the WRB using a proper shingle-lap sequence — each layer overlapping the one below it so water sheds downward and outward, never inward.
- Install head flashing last, lapped over the WRB above the window so water is directed out over the siding, not behind it.
- Seal and insulate the interior gap between the frame and rough opening with a compatible, low-expansion product — overfilling with the wrong foam can bow window frames.
Skip or reverse any of these steps and you've built a path for water to get behind the cladding — one that won't show up as a visible leak for years, by which point it's a framing repair instead of a five-minute fix.
Choosing Window Materials for This Climate
New construction is also the moment to choose frame material with Skagit County's weather in mind, since it's far cheaper to select the right product now than to replace it in fifteen years. There's no single "best" answer — it depends on the home's exposure, budget, and maintenance appetite.
| Frame Material | Coastal/Moisture Durability | Maintenance | Typical Fit |
|---|---|---|---|
| Vinyl | Good — won't rot or corrode, but can expand/contract with temperature swings | Low — occasional cleaning | Cost-conscious builds, rental/spec homes |
| Fiberglass | Very good — dimensionally stable, resists moisture-related warping | Low | Homes wanting durability without wood upkeep |
| Wood-clad (exterior clad, wood interior) | Depends heavily on cladding integrity and installation quality | Moderate to high — exposed wood needs upkeep | Homeowners prioritizing interior appearance |
| Aluminum | Fair — conducts cold and can condensate in our humidity without thermal breaks | Low | Larger openings, contemporary designs with proper detailing |
Whatever material a homeowner or builder chooses, we pay close attention to fastener and hardware corrosion resistance given the region's salt-air influence, and we check that the manufacturer's installation instructions are actually compatible with sloped-sill, nailing-fin construction — not every product is engineered the same way, and installing against the manufacturer's own instructions can void the warranty before the house is even finished.
Energy Code and Egress: Requirements That Get Decided at Install
Washington's energy code sets minimum performance requirements for new-construction windows — U-factor for heat loss and, in some cases, solar heat gain coefficient (SHGC) depending on orientation and glazing area. These ratings are printed on the NFRC label that ships with every code-compliant window, and that label needs to stay intact (or documented) through final inspection.
Bedroom windows also have to meet egress requirements — minimum opening size, sill height, and operability — so occupants have a usable exit in an emergency. These aren't optional details to sort out later; they have to be confirmed against the window schedule before units are ordered, because a window that meets code on paper but is installed with the wrong sill height doesn't actually meet egress in practice.
Our Process for New-Construction Window Installs in Mount Vernon
Because new-construction work happens on a builder's timeline, coordination is as important as the install itself. Our process typically looks like this:
- Plan review: We review the window schedule and rough opening sizes against the actual framing before units are ordered, catching mismatches early instead of on install day.
- Scheduling with the framing/WRB timeline: Windows go in after the weather-resistive barrier is up and before siding starts, so flashing integration happens in the correct order — not squeezed in around other trades.
- Install and flashing per manufacturer instructions: We follow the sill-pan, side-flash, head-flash sequence above, adapted to the specific window line's installation guide.
- Photo documentation before cover-up: Flashing and sealing details get covered by siding and trim, so we document the work while it's still visible — useful for the builder, the inspector, and the homeowner's own records.
- Final check and cleanup: Every unit gets operated, checked for square and smooth function, and cleaned before we call the job done.
Mistakes We See on New Builds — and Why They're Avoidable
Most window problems on new construction trace back to a handful of avoidable sequencing errors, not bad products:
- Flashing installed in the wrong order (house wrap taped over the nailing fin instead of lapped under it), which directs water behind the barrier instead of over it.
- Missing or flat (non-sloped) sill pans, so any water that gets past the window sits against the framing instead of draining out.
- Over-shimming or under-shimming, which stresses the frame and can cause a window to bind, leak at the corners, or fail to latch properly within a year or two.
- Incompatible sealants used between the window flange and WRB tape, which can fail to bond or degrade faster than expected in a damp climate.
- Rough openings cut to the wrong size, forcing an installer to compensate with excess foam or shims instead of getting the unit properly resized or reordered.
None of these are visible once trim and siding go on — which is exactly why the install sequence has to be right the first time.
Why It Matters to Hire a Crew That Already Works This Area
Anyone can install a window on a calm, dry day. The real test is whether the install holds up through a wet Skagit County winter, a windy shoulder season, and years of the region's damp, moss-friendly climate. A crew that regularly works Mount Vernon and the surrounding area already knows the kind of weather exposure local lots typically see, has a working relationship with local building departments and their inspection expectations, and isn't learning coastal Washington detailing for the first time on your project.
That local familiarity also matters for scheduling. New-construction trades depend on each other showing up on time and in the right order — window installers who understand how a Skagit County build schedule typically moves are easier for builders and homeowners to coordinate with, and less likely to create delays that ripple through the rest of the project.
Get a Free, No-Pressure Estimate
If you're building new in Mount Vernon and want the windows done right the first time — correctly flashed, code-compliant, and matched to the right material for this climate — we're happy to walk through your plans and window schedule with you. Use the form below to request a free estimate; there's no pressure and no obligation.