 Anacortes Exterior
 Building New in Edison Means Building for the Water and Wind
Edison sits low on the Skagit flats, close enough to Samish Bay and the tidal sloughs that salt air is just part of the air out there, not an occasional visitor. Add the driving rain that comes off the water on a southwesterly wind, and a wet season that stretches long past what most of the country calls "winter," and you've got a building envelope that has to work harder than it would twenty or thirty miles inland. When we install new-construction windows in Edison, we're not just setting glass in a rough opening — we're building the first line of defense against moisture intrusion for a house that's going to sit in that exposure for decades.
New construction is different from a retrofit or replacement job in ways that matter a lot in this climate. On a new build, the window opening isn't finished yet — there's no old flashing to work around, no existing trim to patch into. That's an advantage if it's done right, and a real liability if it isn't, because every layer of the water management system gets built from scratch, in sequence, by whoever is on site that day.
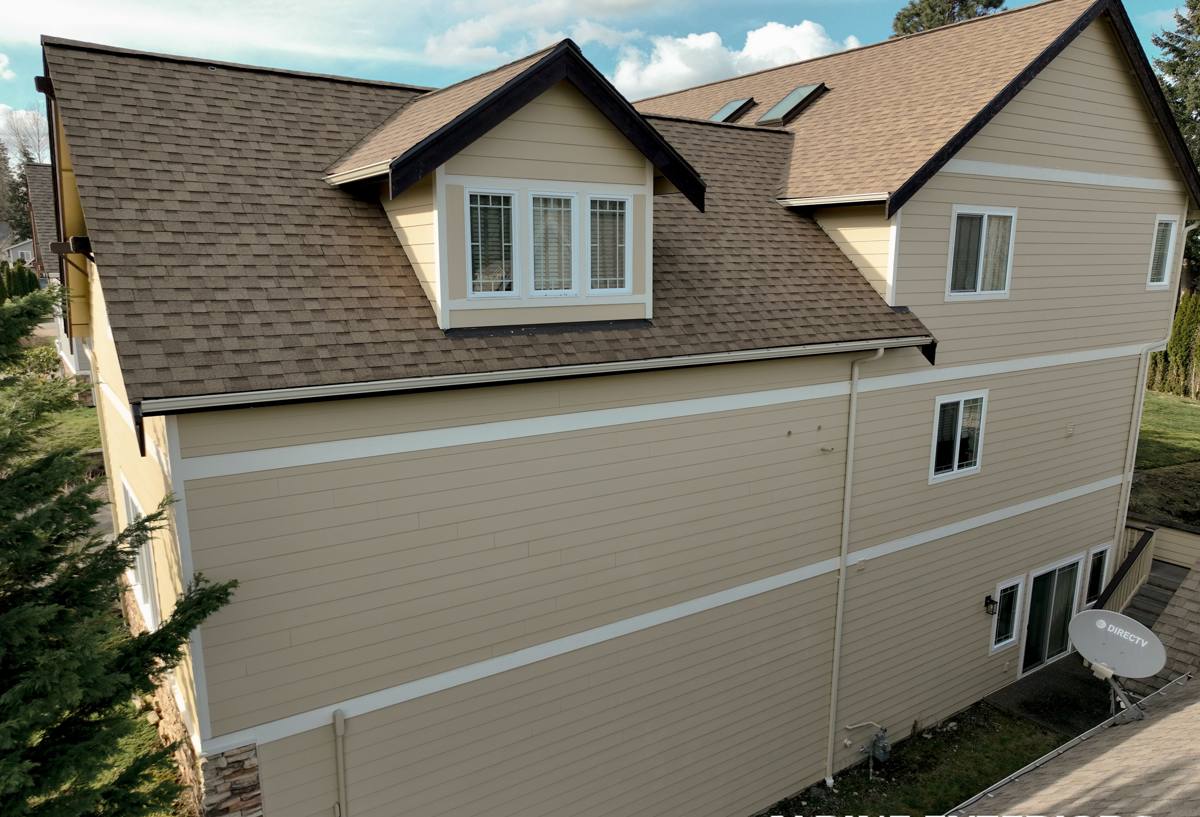
New Construction vs. Replacement: Why the Install Method Changes Everything
A replacement window gets set into an existing, already-clad opening — the flashing and weather barrier are already in place, for better or worse. A new-construction window has a nailing fin (sometimes called a nail flange) that gets integrated directly into the wall's weather-resistive barrier (WRB) and flashing system before siding ever goes on. That means the window installer is working in direct sequence with the framer, the WRB installer, and eventually the siding crew — and if any one of those trades is out of sync, the water management plan falls apart.
Working With the Framing Schedule, Not Against It
On a new build in Edison, we coordinate directly with the general contractor's framing timeline. Windows need to go in after the WRB is up but before siding starts, and the rough openings need to be checked for square, plumb, and correct dimension before a single window shows up on site. We've seen openings framed slightly out of tolerance more than once — catching that before install day saves a lot of grief later.
The Flashing Sequence That Actually Keeps Water Out
Water management on a new-construction window comes down to sequence, not just materials. The sill gets a sloped pan flashing first, so any water that gets past the window has somewhere to go besides the wall cavity. Jamb flashing laps over the sill pan. The window's nailing fin goes on top of that. Head flashing with a drip cap goes in last, lapping over the WRB above the opening. Every layer laps the one below it, shingle-style, so gravity moves water outward and down instead of into the framing. Skip a step, reverse a lap, or rely on caulk to do a flashing's job, and you've built a leak into the wall — one that might not show up for a few wet seasons.
What Edison's Marine Exposure Does to a Window Assembly Over Time
Homes out on the flats take a different kind of weathering than homes tucked into town. A few things we plan around specifically:
- Salt-laden air accelerates corrosion on exposed fasteners, hinges, and low-grade hardware — we spec corrosion-resistant fastening and hardware on coastal jobs rather than standard-grade parts.
- Wind-driven rain hits window assemblies horizontally, not just from above, which is exactly why lapped flashing and a properly sloped sill pan matter more here than they would in a sheltered, inland lot.
- Long wet seasons mean any flashing mistake gets tested repeatedly, for months at a stretch, rather than during the occasional storm.
- Moss and surface algae take hold anywhere moisture sits and sun exposure is limited — mostly a roofing and siding issue, but it's a reminder of how much standing dampness this area holds onto, which is exactly what good window flashing and drainage details are designed to prevent at the wall.
- Interior condensation shows up more in this climate too, since indoor humidity meeting a cold glass surface on a damp, chilly evening is a near-nightly occurrence for months at a time.
Choosing Frame Material for a New Build Here
There's no single "right" window frame material — it depends on budget, maintenance appetite, and how exposed the lot is. Here's how the common options stack up for a new build in this specific climate:
| Frame Material | Coastal/Moisture Durability | Maintenance | Typical Cost |
|---|---|---|---|
| Vinyl | Good — won't rot or corrode, seams are the weak point | Low | Lowest |
| Fiberglass | Very good — stable in temperature swings, resists moisture well | Low | Mid to upper-mid |
| Wood-clad (exterior clad in vinyl or metal) | Good on the exterior face; interior wood still needs care | Moderate | Upper-mid to high |
| Aluminum | Fair — durable but prone to condensation without thermal breaks, and can corrode faster in salt air without proper coating | Low to moderate | Mid |
For most Edison-area new builds, we lean toward vinyl or fiberglass for the balance of upfront cost and long-term durability in a marine-exposed setting. Wood-clad is a fine choice for a homeowner who wants a specific interior wood look and is willing to keep up with it; we're honest that it's a higher-maintenance product in a climate this damp, not a knock on the material itself, just a real trade-off worth knowing before you commit.
Performance Ratings That Matter in Skagit County
Window spec sheets list a lot of numbers, but not all of them carry equal weight here. In this climate, we pay closest attention to:
- U-factor — how well the window resists heat loss. Lower is better for keeping heating costs down through our long heating season.
- Air infiltration rating — how tight the window is against wind-driven air movement, which matters more on an exposed, open-water lot than it does in a sheltered subdivision.
- Condensation resistance — how well the frame and glass edge resist interior fogging in cold, damp conditions, which is a common homeowner complaint in this area regardless of window quality.
- Design pressure (DP) rating — the window's tested resistance to wind load and water infiltration under pressure, worth confirming on any lot with open exposure to the bay or flats.
Solar heat gain coefficient (SHGC), which gets a lot of attention in hotter climates, matters less here — we don't design around blocking sun so much as managing heat loss and moisture.
Our New-Construction Installation Process
- Verify rough openings for square, level, and correct sizing before windows arrive on site.
- Install sloped sill pan flashing at each opening.
- Set the window plumb, level, and square, shimmed correctly so the frame isn't racked or bowed.
- Integrate jamb flashing over the sill pan and fasten the nailing fin per the manufacturer's schedule.
- Lap head flashing and drip cap over the WRB above the opening, completing the shingle-lap sequence.
- Seal and backer-rod the interior per code and manufacturer instructions — sealant supports the flashing system, it doesn't replace it.
- Insulate the gap between frame and rough opening without over-compressing the frame.
- Walk each opening with the builder or site super before siding closes it in, since this is the last point anyone can visually confirm the flashing before it's covered.
A Quality Checklist We Follow on Every Edison Job
- Rough opening squared and measured before delivery day, not after
- Sill pan flashing sloped to drain outward, not sitting flat
- Flashing laps run shingle-style — top piece over the one below, no reverse laps
- Nailing fin fastened per manufacturer spec, not "close enough"
- Corrosion-resistant fasteners and hardware on any lot with direct water exposure
- Window checked plumb, level, and square after setting, not just at first placement
- Interior sealant and insulation completed without gaps or over-compression
- Photos or a walk-through of flashing before siding covers it, so there's a record if anything ever needs to be traced back
Coordinating With Builders, Inspectors, and Timelines in Skagit County
New-construction window work rarely happens in isolation — we're one trade in a sequence that includes the framer, the WRB and siding crews, and the local building inspector. Skagit County inspections typically check rough opening framing and, depending on the jurisdiction and project scope, may want to see flashing details before they're covered by siding. We build our schedule around those inspection points rather than trying to rush past them, because a flashing detail that gets buried before it's verified is a detail nobody can vouch for later. On a rural, water-exposed site like Edison, that verification step is worth the extra day it sometimes costs.
Why Hire a Crew That Already Works in Edison
Edison isn't a big town, and it isn't built like one — a lot of the building stock out there is spread across farmland and flats, with real exposure to open wind and water that you don't get on a sheltered in-town lot. A crew that hasn't worked this specific stretch of Skagit County might spec a window and flashing detail that would be perfectly fine in a more sheltered location and come up short here. We've done enough work along this corridor to know which details are worth the extra attention on an exposed lot, which frame materials hold up honestly over time in salt air, and how to sequence a job so the flashing gets verified before it disappears behind siding. That local familiarity is less about knowing landmarks and more about knowing how this specific stretch of coastline treats a building envelope over the years.
If you're planning new-construction windows for a build in Edison, we're happy to walk the site, talk through frame options for your specific exposure, and put together a straightforward estimate — no pressure, no pushy sales pitch, just a clear look at what your project needs. Use the form below to get in touch.