 Anacortes Exterior
 Building New in La Conner Means Building for the Water
La Conner sits right where the Swinomish Channel meets the tide flats, and that location is exactly why new-construction windows here need more thought than a standard spec-sheet install. Salt-laden air off the channel, wind-driven rain rolling in off the Sound, and the long gray stretch of moss season that Skagit County is known for all work on a window assembly from day one. When we install new-construction windows for a home going up in or near La Conner, we're not just setting glass in a rough opening, we're building the first line of defense against a climate that doesn't let up for long.
This page covers what we've learned installing new-construction windows in this specific stretch of Skagit County: what the climate demands, what a correct installation actually involves, and why the details matter more here than they would on a drier, more sheltered lot.
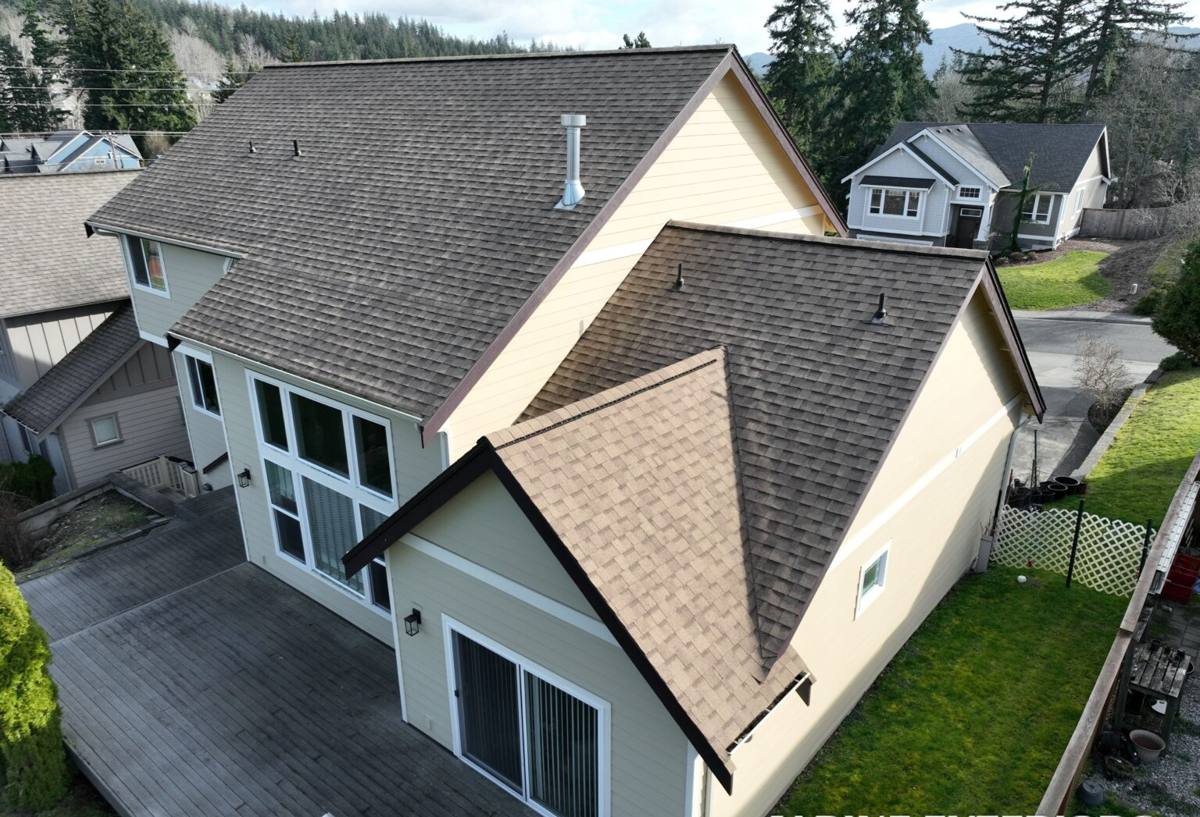
What La Conner's Climate Actually Does to a Window Assembly
Salt Air and Metal Fatigue
Homes close to the channel and the surrounding tide flats get a steady low dose of salt in the air, even without a direct waterfront lot. Over years, that salt accelerates corrosion on hardware, fasteners, and any exposed metal components, hinges pit, screws seize, and finishes that would hold up fine forty miles inland start to chalk and pit early. New construction is the one chance to get ahead of this, because every fastener, flashing detail, and hardware choice is still up for decision before the siding goes on.
Driving Rain and Wind-Driven Water
Skagit County storms often come with real wind behind them, and a window that's watertight in a light shower can still leak under wind-driven rain hitting the wall at an angle. That's a water-management problem, not just a caulk problem, it's solved with correct flashing sequencing and drainage planes, which is far easier to get right during new construction than to retrofit later.
Moss Season and Sustained Moisture
The long wet season here means extended stretches where wood trim, sills, and any organic material near a window stay damp. That's the same condition that lets moss establish on roofs and north-facing walls, and it's hard on window sills and trim if the wrong materials or details are used. Sills need to shed water fast and dry out between rain events, not hold moisture against the frame.
New Construction vs. Replacement: Why the Approach Is Different
A lot of homeowners assume a window is a window, but new-construction windows and replacement windows are built and installed differently, and that difference matters even more in a wet, salt-exposed area like La Conner.
- New-construction windows have a nailing flange that ties directly into the wall's water-resistive barrier (WRB) and flashing system before siding goes on.
- Replacement windows are typically installed into an existing frame, without flange access, relying more on sealant and the condition of the existing opening.
- On new construction, we control the full sequence: sheathing, WRB, flashing tape, the window flange, and the drainage plane behind the siding, instead of working around what's already there.
- That control is exactly what a marine climate rewards: fewer shortcuts, better long-term drainage, less reliance on caulk as the only line of defense.
Because La Conner sees more moisture pressure than a typical inland Washington town, getting this sequence right on new builds isn't optional. It's the difference between a window that performs for decades and one that starts showing staining or soft trim within a few wet seasons.
What a Correct New-Construction Installation Involves
Flashing and Drainage, Step by Step
The window itself is only part of the system. What actually keeps water out is the sequence built around it:
- Sill pan flashing set first, sloped to drain any water that gets past the window back to the exterior, not into the framing.
- Self-adhered flashing tape at the jambs and head, lapped in the correct shingle-style order so water sheds downward and outward at every layer.
- The window flange fastened per the manufacturer's schedule, with backer rod and sealant used to supplement the flashing, not replace it.
- Integration with the WRB so the drainage plane behind the siding stays continuous, with no gaps where wind-driven rain can find a path inward.
- Interior air sealing at the rough opening, which controls condensation risk as much as it controls drafts.
Skip any one of these steps and the window may look fine for a year or two before a leak shows up, often well after the siding and trim are finished, which makes the fix far more expensive than getting it right the first time.
Fasteners and Hardware
Given the salt exposure around La Conner, we default to corrosion-resistant fasteners and hardware rated for coastal or marine-adjacent use rather than standard-grade hardware. It costs a little more up front and saves a service call in five years when hinges or cranks would otherwise start seizing.
Choosing Frame Materials for a Salt Air, High-Moisture Site
Frame material matters more here than in a dry inland climate. Here's how the common options tend to hold up under La Conner's conditions specifically:
| Frame Material | Salt Air Resistance | Moisture Behavior | Typical Maintenance |
|---|---|---|---|
| Vinyl | Good, won't corrode | Doesn't absorb water; seals age over time | Low |
| Fiberglass | Very good, dimensionally stable | Minimal expansion and contraction | Low |
| Wood-clad | Fair, cladding protects the wood core | Vulnerable if cladding seams fail | Higher; watch seams and sills |
| Aluminum | Poor to fair without marine-grade coatings | Conducts cold and can condense | Moderate to high near salt air |
We don't push one brand or material on every job. The right call depends on the home's exposure, budget, and the architectural style being built. What we won't do is install a frame material poorly suited to a channel-facing or high-exposure lot just because it's cheaper up front. That's a maintenance headache we'd rather steer a homeowner away from at the planning stage, as a matter of our own installation standards.
Our Process, From Plans to Final Walkthrough
Plan Review and Takeoff
We start from the architect's or builder's window schedule, confirm sizes, egress requirements, and glazing specs against the plans, and flag anything that looks like it will fight the site's exposure. A large picture window on the windward side, for example, may need a heavier glazing package or additional structural support.
Coordinating With the Framing and Siding Trades
New-construction window installation isn't a solo trade, it has to land at the right point between framing, WRB installation, and siding. We coordinate timing with the general contractor or homeowner so flashing goes in while the wall is still open, not after siding has already gone up around a gap.
Installation and Flashing
This is where the sill pan, tape sequencing, and flange fastening described above actually happen, unit by unit, with each opening checked for square and level before it's sealed.
Final Walkthrough
Before we call a job done, we walk every window with the homeowner or builder, operate each unit, and confirm hardware, screens, and finish are correct. Any adjustment gets handled before we leave the site, not on a callback.
What Drives the Cost on a New-Construction Window Job
| Factor | Why It Matters in La Conner |
|---|---|
| Number and size of openings | Larger view windows toward the channel need heavier glazing and structural support |
| Frame material | Fiberglass and quality vinyl cost more upfront but resist salt air longer |
| Glazing package | Higher-performance glass helps with both wind exposure and energy costs |
| Site exposure | Channel-facing or wind-exposed walls may need upgraded flashing details |
| Coordination complexity | Custom homes with unusual openings take more takeoff and scheduling time |
We give straightforward, itemized estimates rather than a flat per-window number, because a job facing open water and full sun exposure isn't priced the same as a sheltered opening on the same house. Broad ranges depend heavily on window count, size, and glazing package, and we'll walk through those specifics on the actual plans rather than guessing over the phone.
Why a Crew That Already Works in La Conner Matters
Skagit County's building departments, wind and exposure requirements, and the practical realities of building close to tide flats and open water aren't identical everywhere in Washington. A crew that already pulls permits and passes inspections in this area knows what the local building official will look for on flashing details, what glazing performance makes sense for the exposure, and which framing quirks show up again and again in La Conner and the surrounding Anacortes area. That local familiarity shows up as fewer surprises during inspection, fewer callbacks, and a window installation suited to this specific stretch of coastline rather than a generic statewide spec pulled off a shelf.
It also means fewer assumptions on site. A crew that hasn't worked this area before may not think twice about a detail that matters a great deal here, like how close a wall sits to open water, or how much shade and standing moisture a north-facing elevation holds onto through the winter.
Keeping New Windows Performing Through the Wet Season
A correctly installed new-construction window needs very little upkeep, but a few habits go a long way in this climate:
- Rinse salt residue off frames and hardware a couple of times a year, especially on channel-facing elevations.
- Keep weep holes clear of debris and moss so the frame can drain as designed.
- Check exterior caulk lines at trim and siding transitions each fall, before the wet season sets in.
- Watch for moss or algae buildup on sills and trim, and clean it early rather than letting it hold moisture against the frame.
- Operate hardware, cranks, locks, hinges, a few times a year so salt-related stiffness gets caught before it turns into a seized mechanism.
None of this replaces a correct installation, but it does extend the life of one considerably in a climate that never really gives a window a break.
If you're planning new construction in La Conner or anywhere nearby in the Anacortes area, we're glad to walk the plans with you and give a straightforward, no-pressure estimate. Just fill out the form below.