 Anacortes Exterior
 Storm Damage in a Marine Environment
Flounder Bay sits close enough to the water that its homes deal with a different mix of weather stress than roofs a few miles inland. Wind off the bay hits roofs at angles that inland homes rarely see, driving rain sideways under shingle edges and flashing that would otherwise shed water fine in a straight-down rain. Add in Skagit County's long wet season and the salt content in the air, and you get a roof that ages differently — not necessarily faster everywhere, but unevenly, with certain areas of the roof taking the brunt of the punishment year after year.
Storm damage repair in this kind of setting isn't just about patching what broke during one bad blow. It's about recognizing that the same wind event that cracked a few shingles on an inland roof may have also loosened flashing, driven moisture into a seam, or stripped granules off a section that was already thinner from years of exposure. A proper repair accounts for all of that, not just the obvious hole.
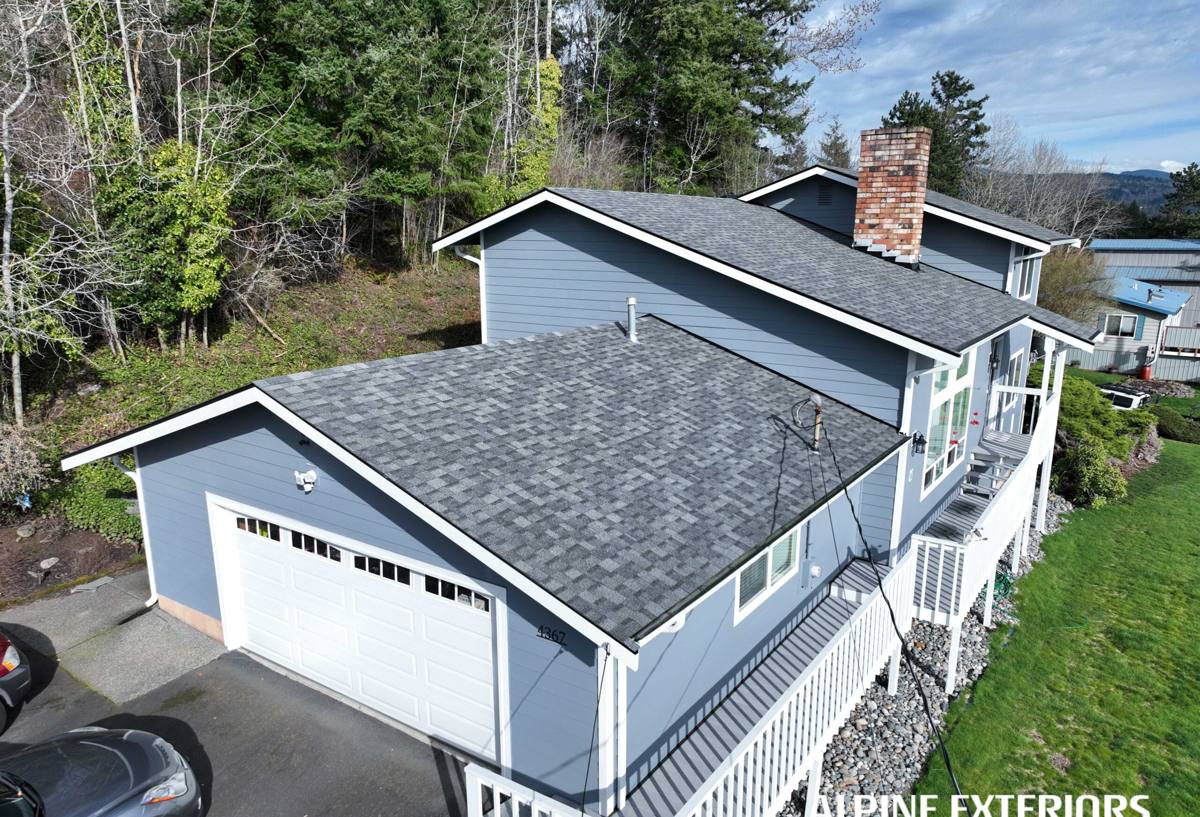
What Actually Counts as Storm Damage
Homeowners often think of storm damage as one dramatic event — a tree limb through the roof, a section of shingles peeled back overnight. That happens, but a lot of the storm damage we deal with in this area builds up over multiple smaller events:
- Wind-lifted shingles that reseal poorly or not at all, leaving a weak point for the next storm
- Flashing around chimneys, vents, and skylights worked loose by repeated flexing in high wind
- Granule loss from wind-driven rain and debris, which thins a shingle's UV and weather protection over time
- Punctures or bruising from wind-blown branches and debris common near tree-lined waterfront lots
- Water intrusion at valleys and eaves where wind pushes rain uphill against the natural water flow
Each of these can be a legitimate storm damage repair, and each requires a different fix. Lumping them all together as "patch the leak" is how small problems turn into bigger ones a year or two later.
Signs a Flounder Bay Homeowner Should Watch For
After a specific storm event
Walk the property after any significant wind or rain event and look for shingles on the ground, in gutters, or shifted out of their normal pattern on the roof. Check the attic or top-floor ceilings for new staining, even faint discoloration, within a day or two — water doesn't always show up immediately after it gets in.
Gradual signs over a season
Some damage doesn't announce itself. Watch for moss establishing itself faster than usual in shaded or north-facing sections, granules collecting in gutters between storms, or soft spots underfoot near valleys and edges. In a moss-prone climate like ours, moss growth on a section that stays damp longer than the rest of the roof is often a sign that section is also losing its ability to shed water properly — the two problems tend to show up together.
What a Correct Storm Damage Repair Involves
A repair done right starts with more than looking at the spot where the leak shows up inside the house. Water travels along the underlayment and decking before it finds a way in, so the entry point on the roof is often several feet away — sometimes upslope — from where the stain appears on the ceiling.
| Step | What It Covers | Why It Matters Here |
|---|---|---|
| Roof-level inspection | Shingles, flashing, valleys, penetrations, ridge and eave lines | Wind damage from bay exposure often affects more than the visible spot |
| Decking check | Probing for soft or delaminated sheathing under the damaged area | Prolonged moisture from our wet season can compromise decking before shingles show obvious failure |
| Underlayment and flashing repair | Replacing compromised underlayment, resealing or replacing flashing | Flashing failure is a leading cause of repeat leaks in wind-exposed areas |
| Matching shingle repair | Tear-out and replacement of damaged courses, not just surface patching | Surface patches fail faster under repeated wind-driven rain |
| Moss and debris clearing | Removing moss growth and organic debris from the repair area and surrounding roof | Left in place, moss holds moisture against the repair and shortens its life |
Skipping the decking check is the most common shortcut we see from rushed repairs, and it's the one that causes the most callbacks. If the wood underneath is soft, no amount of new shingle on top will hold up.
Our Process for Flounder Bay Storm Repairs
1. Inspection and documentation
We start with a full roof inspection, not just a look at the reported problem area, and document what we find with photos. If the damage is storm-related and you're planning to file an insurance claim, this documentation is something your adjuster will want to see, and having it organized before the claim call speeds things up.
2. Temporary protection when needed
If a roof has active damage that's letting water in, we can install temporary protection to stop further intrusion while repair materials are sourced or while an insurance claim is being processed. This matters more here than in drier climates — a roof left exposed during an extended wet stretch can go from a repairable problem to a decking replacement in a matter of weeks.
3. The repair itself
We repair to match the existing roof system where possible — same or comparable shingle type, proper flashing details, and underlayment appropriate to the exposure. We don't believe in mixing incompatible materials just to save a step; it tends to create maintenance headaches and can affect how well the repair holds up to future storms.
4. Cleanup and final check
We clear debris, check gutters and downspouts near the repair for blockage, and do a final walk of the repaired area before calling the job done.
Insurance Claims: What to Expect
Many storm damage repairs in this area are at least partially covered by homeowner's insurance, but coverage depends on your specific policy, the cause of damage, and your insurer's assessment — that's between you and your insurance company, and we're not able to promise a claim outcome. What we can do is provide honest, detailed documentation of the damage and the repair scope, which is the most useful thing a contractor can hand an adjuster. We're happy to meet an adjuster on site if that's helpful for your claim.
Repair vs. Replace: What Drives the Decision
Not every storm-damaged roof needs full replacement, and not every repair is a good long-term investment. A few factors we weigh honestly with you:
| Factor | Favors Repair | Favors Replacement |
|---|---|---|
| Age of roof | Under roughly 10-12 years | Nearing or past typical service life for the material |
| Extent of damage | Isolated to one section or slope | Spread across multiple slopes or recurring in the same spots |
| Decking condition | Solid, no soft spots found | Soft or delaminated decking found during inspection |
| Moss and moisture history | Minor, manageable with cleaning | Chronic moss with underlying granule loss or shingle deterioration |
| Prior repairs | First repair on this section | Multiple past patches in the same area |
We'll tell you plainly when a repair makes sense and when it's a short-term fix on a roof that's due for replacement. Neither answer benefits us more than the other — a good repair and an honest replacement recommendation both build the kind of reputation that keeps us working in this area.
Why It Matters That We Already Work Flounder Bay
A crew that's worked waterfront and near-waterfront properties in this part of Skagit County has already learned the details that generic roofing knowledge misses — how quickly moss reestablishes on shaded, salt-air-exposed slopes, which flashing details hold up to sustained wind-driven rain versus which ones look fine on installation day and fail in two years, and how to sequence a repair around our wet season instead of getting caught mid-job by the next front rolling in off the water. That familiarity shows up in fewer callbacks and repairs that are built for the actual conditions on your roof, not generic conditions from a training manual.
After the Repair: Reducing Repeat Damage
A storm repair is a good time to address the conditions that made the damage worse than it needed to be. A short checklist worth going through with your contractor:
- Trim back tree limbs that overhang the roof or could reach it in high wind
- Clear gutters and downspouts so water has somewhere to go during heavy rain
- Ask about moss treatment or preventive cleaning for shaded slopes prone to regrowth
- Have flashing around chimneys, vents, and skylights checked annually, not just after storms
- Keep a record of repairs and inspections in case future insurance claims come up
None of this prevents every future storm from doing some damage — that's the nature of roofing on the water — but it narrows the gap between a minor repair and a major one.
If you're dealing with storm damage on a Flounder Bay roof, or you just want an honest look at where things stand after a recent blow, we're glad to come take a look. The estimate is free, there's no pressure to commit to anything, and you'll get a straight answer about what your roof actually needs — use the form below to get started.