 Anacortes Exterior
 Building Windows Into a New Home on Cap Sante
Cap Sante sits up on the bluff above the marina, exposed to wind and weather coming straight off Rosario Strait and Guemes Channel. If you're building new on this hill, the windows you spec and how they're installed matter more than they would on a sheltered lot a few miles inland. A window that's a fine choice in a protected Skagit County valley can underperform on an exposed bluff site if the install doesn't account for wind-driven rain, salt-laden air, and the long stretch of wet, low-light months that let moss and algae take hold on anything that stays damp.
New-construction window work is a different job than replacing windows in an existing home. There's no old frame to match, no existing flashing to work around — but there's also no room for shortcuts, because whatever gets built into the wall assembly now is what you're living with for decades. This page covers what Cap Sante homes specifically need from their windows, what a correct install looks like, and how we fit into a new-build project.
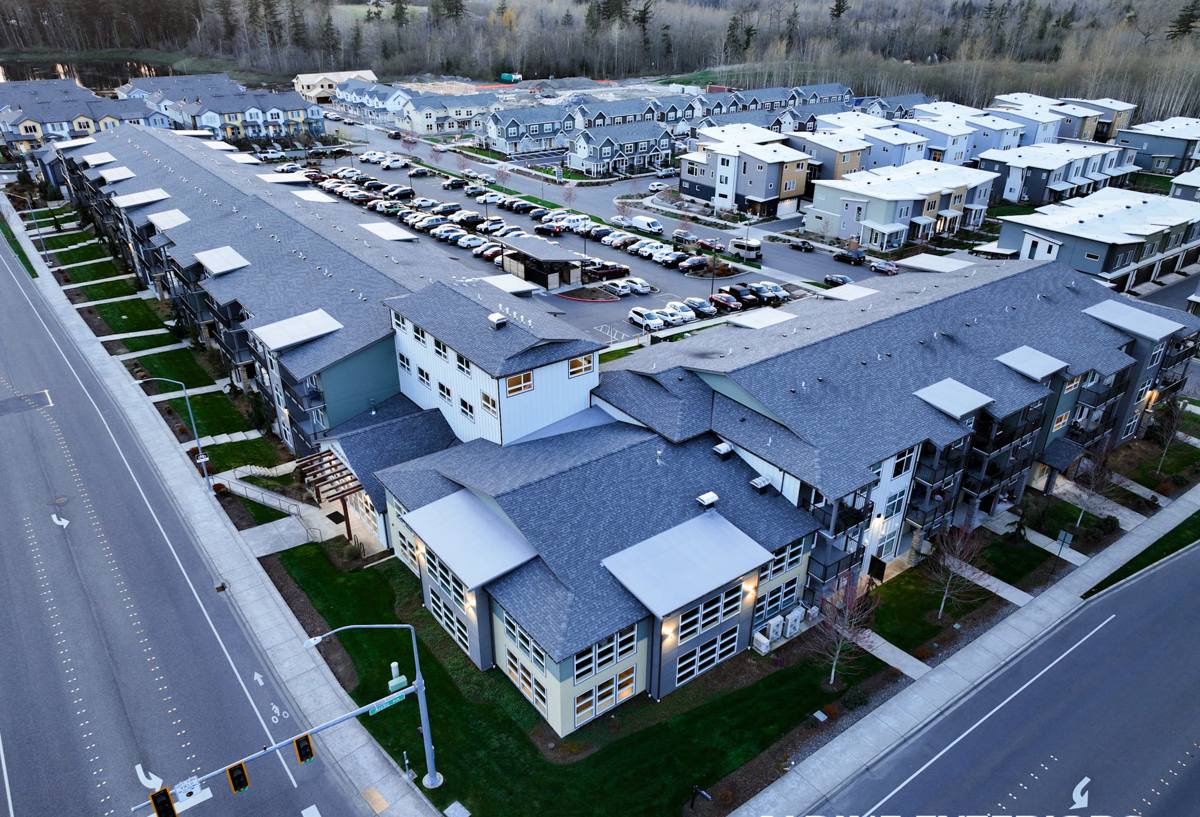
What Cap Sante's Climate Asks of a Window Installation
Anacortes sits at the edge of the Salish Sea, and homes up on Cap Sante catch more of that marine exposure than most in-town lots. Three conditions drive most of the decisions we make on a job here:
Salt Air
Airborne salt is corrosive to unprotected metal hardware, fasteners, and some window components over time. It's not dramatic — it's slow, cumulative wear that shows up years later as pitting, sticky hardware, or finish failure on lower-grade products. On exposed bluff lots we pay closer attention to hardware finish and frame material than we would on a sheltered site.
Wind-Driven Rain
Rain that falls straight down is easy to shed. Rain that's being pushed sideways by wind off the water is a different problem — it finds every gap in flashing, every skipped bead of sealant, every place where the water-resistive barrier wasn't lapped correctly. On an exposed site, the margin for error in flashing detail is smaller than it is elsewhere in the county.
Moss Season
Western Washington's wet season runs long, and north- and shade-facing surfaces stay damp for months at a stretch. Moss and algae need standing moisture to establish, so anything that traps water against a window frame or sill — poor drainage, a sill pan that doesn't slope, trim that holds water — becomes a growth site over a few seasons. Good drainage detailing during installation is as much about keeping moss off the window as it is about keeping water out of the wall.
New-Construction Windows vs. Replacement Windows
These are genuinely different products and different jobs, and mixing up the assumptions between them is one of the more common ways a new-build window installation goes wrong.
| Factor | New-Construction Windows | Replacement Windows |
|---|---|---|
| Window type | Nail-fin (flanged) units set into open rough framing | Insert or pocket units set into an existing frame |
| Flashing | Built into the wall assembly — sill pan, WRB, flange integration done from scratch | Limited to what's accessible around the existing opening |
| Sequencing | Coordinated with framing, WRB, and siding crews on a build schedule | Standalone job, usually completed in a day or two |
| Long-term performance | Depends entirely on the install — no old assembly to fall back on | Depends on both the new unit and the condition of what's already there |
| Where mistakes hide | Behind siding and WRB — not visible again once the shell is closed in | Often visible sooner, since less gets covered up |
The biggest practical difference is that a new-construction window install becomes permanently inaccessible once the siding goes on. There's no second chance to fix a flashing detail later without tearing into finished exterior. That's why we treat sequencing and inspection on new builds as seriously as we treat the product selection.
What a Correct New-Construction Window Installation Involves
A properly installed new-construction window is really a small system of layered details, each one backing up the next. Skipping or rushing any single layer is usually what causes a leak years down the road, not a defective window unit.
- Rough opening check. Confirm the opening is square, level, and sized correctly before anything goes in — a slightly out-of-square opening causes operating problems and uneven reveals that are hard to fix later.
- Sill pan flashing. A sloped, sealed sill pan under the window directs any water that does get past the glazing back outside instead of into the wall cavity. On a wind-exposed site, this is not optional.
- Water-resistive barrier integration. The WRB (house wrap) has to be cut, lapped, and taped so water sheds over the window flange in the correct shingle-style order — top layer over the one below it, every time.
- Setting and fastening the window. The unit is shimmed level and plumb, fastened through the nail fin per the manufacturer's schedule, without racking the frame, which can bind the sash or seals.
- Flange and flashing tape. Self-adhered flashing tape seals the nail fin to the WRB on the sides and top, creating a continuous drainage plane.
- Insulation and air sealing at the jamb. The gap between the frame and rough opening gets filled with a compatible low-expansion product — overfilling with the wrong material can bow the frame.
- Exterior trim and sealant. Trim and sealant joints are the last line of defense, not the first — they matter, but they're backup to the flashing and pan underneath.
- Interior air seal and finish. Sealing the interior side controls condensation and drafts, which matters for comfort and for keeping moisture out of the wall from the inside as well as the outside.
Every one of these steps happens before siding closes the wall in, which is exactly why choosing a crew that does this correctly the first time matters more on new construction than almost any other part of the exterior.
Choosing Frame Materials and Glass for This Exposure
There's no single "correct" window product for every home — it depends on budget, the home's design, and how exposed the specific lot is. But on a bluff site with salt air and driving rain, some trade-offs are worth understanding upfront.
| Frame Material | Strengths | Trade-offs for This Exposure |
|---|---|---|
| Vinyl | Cost-effective, low maintenance, good energy performance | Frame color and finish should be rated for UV and coastal exposure; check warranty terms for marine environments |
| Fiberglass | Very stable in temperature swings, strong, holds paint well | Higher upfront cost than vinyl |
| Wood-clad | Interior wood warmth with an exterior weather shell | Cladding seams and cut ends need careful sealing; more maintenance-sensitive if the shell is ever compromised |
| Aluminum | Slim sightlines, strong frame | Conducts heat and cold readily and is more prone to condensation unless thermally broken; hardware finish matters in salt air |
For hardware — hinges, locks, cranks — we look at finish quality regardless of frame material, since that's the part most exposed to salt air and most likely to show wear first. On glazing, a double-pane, Low-E unit with argon fill is standard for this region's climate; the coating and gas fill do more for comfort and energy performance than most people expect from something they can't see.
Working With Your Builder: How Our Process Fits a Cap Sante Build
On a new-construction job, window installation isn't a standalone visit — it's one step in a sequence that includes your framer, your WRB or house wrap installer, and your siding crew. We coordinate directly with your general contractor or builder on timing, because installing windows too early (before the WRB is ready) or too late (after siding prep has moved past that point) creates rework nobody wants.
Our process on a Cap Sante build typically looks like this:
- Review the window schedule and rough openings against the plans before delivery, catching sizing mismatches early
- Confirm WRB is installed and ready at each opening before we start setting units
- Install sill pans, set and fasten windows, and integrate flashing tape in the sequence above
- Document flashing and drainage details at each opening before siding covers them
- Walk the openings with your builder before the exterior closes in, so everyone has confirmed the details while they're still visible
That documentation step matters more than it sounds like it should. Once siding is up, nobody can eyeball the flashing again — having a clear record of what was done at each opening protects you if a question ever comes up later.
Mistakes We Watch For on New-Construction Jobs
Most window problems in new homes don't trace back to a bad window. They trace back to installation shortcuts that were invisible the day the crew left. On exposed sites like Cap Sante, these show up faster and worse than they would on a sheltered lot.
- WRB lapped in the wrong order, letting water run behind the layer instead of over it
- Sill pans that are flat or reverse-sloped instead of draining outward
- Flashing tape applied over dirty, wet, or cold surfaces where it won't adhere long-term
- Windows fastened without shimming, leaving the frame slightly racked and hardware working harder than it should
- Spray foam used to "seal" a jamb gap in place of proper flashing, which traps moisture instead of shedding it
- Sealant used as the primary water barrier instead of as a backup to flashing
- Hardware and fastener finishes not suited to a salt-air environment
Every one of these is preventable with a careful, unhurried install — none of them require an expensive window, just a correct one.
After Move-In: Keeping New Windows Performing in This Climate
A correctly installed window still benefits from a little seasonal attention on a site like this. Rinsing salt residue off frames and hardware during dry spells, keeping gutters and drainage clear so water doesn't pool near sills, and checking exterior caulk joints once a year for cracking are simple habits that extend the life of the install. If you notice moss or algae starting to establish on a sill or trim piece, addressing it early — before it holds moisture against the frame for a full wet season — is far easier than dealing with wood or finish damage later.
Why Local New-Construction Experience Matters on Cap Sante
Anacortes and the rest of Skagit County share a climate, but exposure varies a lot from lot to lot — a sheltered in-town parcel and an exposed bluff lot on Cap Sante don't need identical detailing, even though they're a few miles apart. A crew that's worked new construction on this hill already knows which openings tend to catch the worst of the wind-driven rain, how the local building department expects flashing documented, and what actually holds up here versus what looks fine on paper. That's the difference between a window install that's technically finished and one that's actually built for where it sits.
If you're building on Cap Sante and want your windows done right the first time — sequenced correctly with your builder, flashed for real wind and rain exposure, and documented before the walls close in — we're glad to walk your plans and give you a straightforward, no-pressure estimate using the form below.